Are you thinking about installing an electric vehicle (EV) charger? With the EV Series, you are not just embracing greener transportation; you are taking control of your charging experience. Whether it’s smart home integration with the EV Series Smart Home, a dependable everyday charging option with the EV Series Standard, or advanced features with the EV Series Pro, there’s a model designed for you. An EV charging station unlocks convenience, efficiency, and the freedom to charge on your terms- but setting up the right infrastructure is key to making it all work. From choosing the perfect location for your charging to understanding different power requirements, this guide will walk you through the essentials. We will dive deeper into installation options and how to configure features like RFID charging and access control on the EV Series. Plus, we will touch on troubleshooting tips, such as decoding fault light signals. Ready to get right into EV charging and make the most of your electric ride?
Plugged In & Powered Up: Everything You Need to Know About EV Series Electric Vehicle Charging Solutions
EV Series Standard
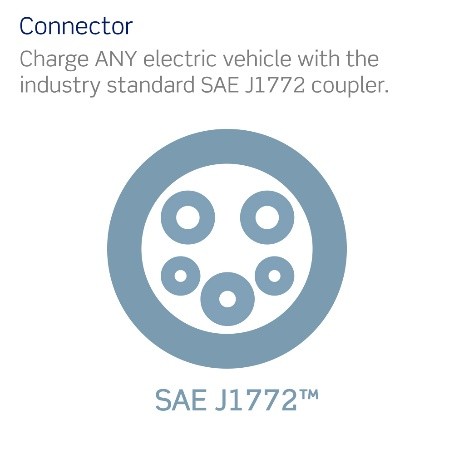
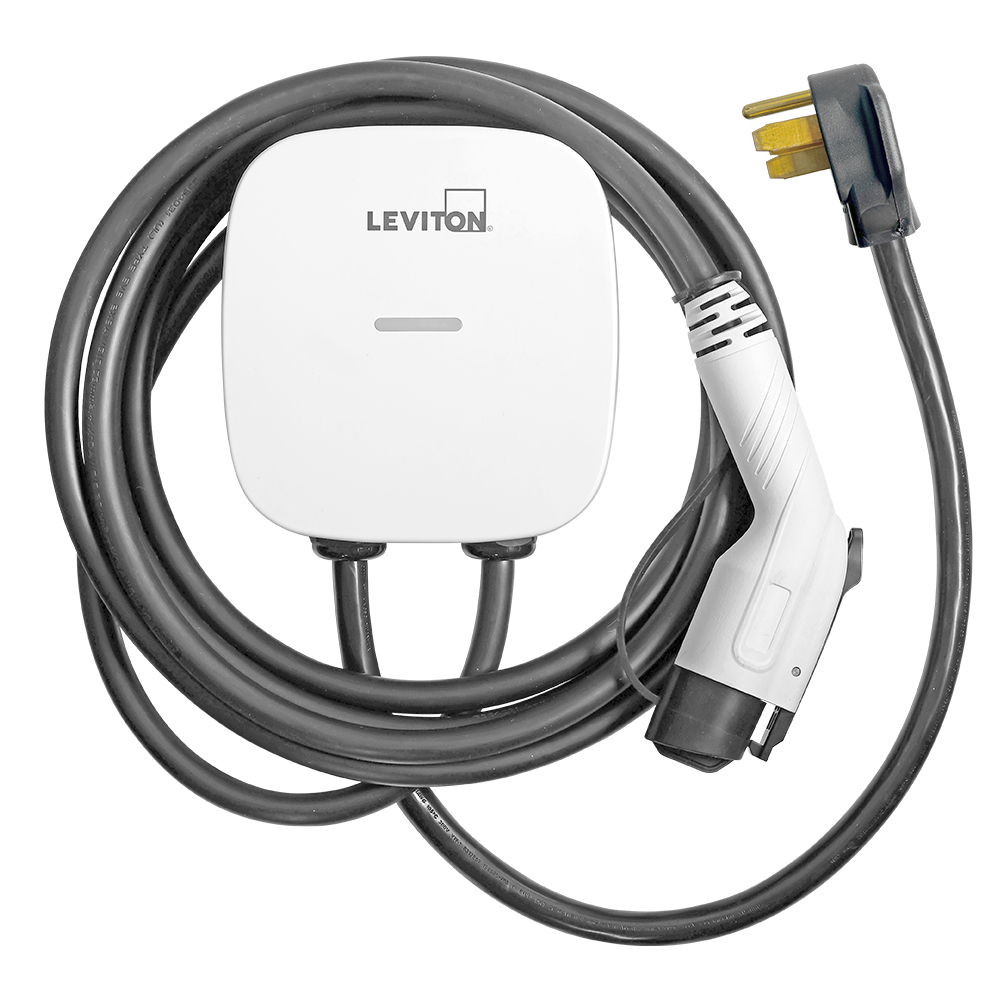
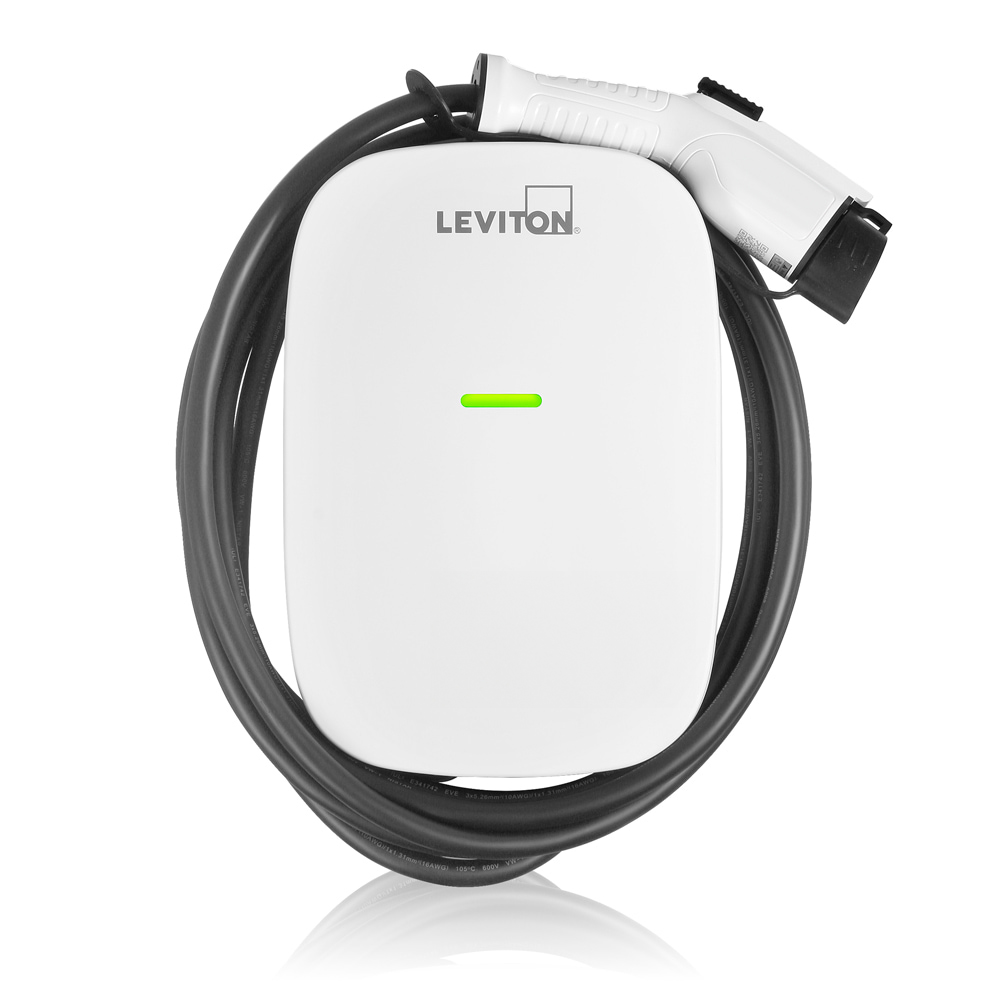
Our EV Series Standard offers reliable and efficient electric vehicle charging solutions for residential, commercial, and public applications. These chargers are designed for fast and secure charging of any SAE J1772™ compatible EV, with features like RFID access control, durable cable design for extreme weather, and a weather-resistant thermoplastic enclosure rated NEMA Type 3R. With easy installation and robust safety features, our EV Series Standard is a great choice for dependable EV charging.
EV Series Pro
The EV Series Pro is a high-performance electric vehicle charging solution designed for commercial applications. These chargers offer advanced features such as dual power output, RFID access control, and real-time analytics through AmpUp Charging Station Management Software. The EV Series Pro Dual Port supports Level 2 Charging with up to 48A per port, ensuring fast and efficient charging for a variety of electric vehicles. With a water-resistant enclosure rated NEMA Type 3R, the chargers are built for both indoor and outdoor installations. Whether you’re managing multiple stations or optimizing power load, the EV Series Pro provides a smart, scalable charging solution for businesses and public charging networks.
EV Series Smart Home
The EV Series Smart Home is an electric vehicle charging solution designed to integrate seamlessly with modern smart homes. The Level 2 charging station offers Wi-Fi connectivity, allowing users to manage their charging schedule and monitor energy usage through the My Leviton App. With a 48A output, it provides fast and efficient charging for a wide range of EVs. Built for durability, the charger features a water-resistant enclosure and cable designed to withstand extreme weather conditions, making it suitable for both indoor and outdoor installation. Whether you’re looking for convenience, efficiency, or smart home integration, the EV Series Smart Home delivers a premium charging experience.
Installing EV Series Level 2 Chargers
We will begin with where the EV Series can be installed. The short answer is that it can be installed both indoors and outdoors because it is thermoplastic, water-resistant and rated NEMA Type 3R. Due to the way it is built, it can withstand all types of weather conditions. The actual charger can only be installed by a licensed electrician. This ensures that it is installed safely and properly.
Every electric vehicle can charge with the EV Series. The EV series is compatible with any SAE J1772™ electric vehicle, including Audi, BMW, Ford, Honda, Subaru, and even Tesla using the Leviton NACS Adapter (Part Number: NACSA). Additionally, there are certain power requirements for different chargers. First is the 32A charger, which requires 208/240V, and each unit requires a dedicated 40A breaker. For the 40A charger, it requires a dedicated 50A breaker. The 48A charger requires 208/240V and each unit requires a dedicated 60A breaker, and the 80A charger which requires a dedicated 100A breaker.

Fault Light Indicators
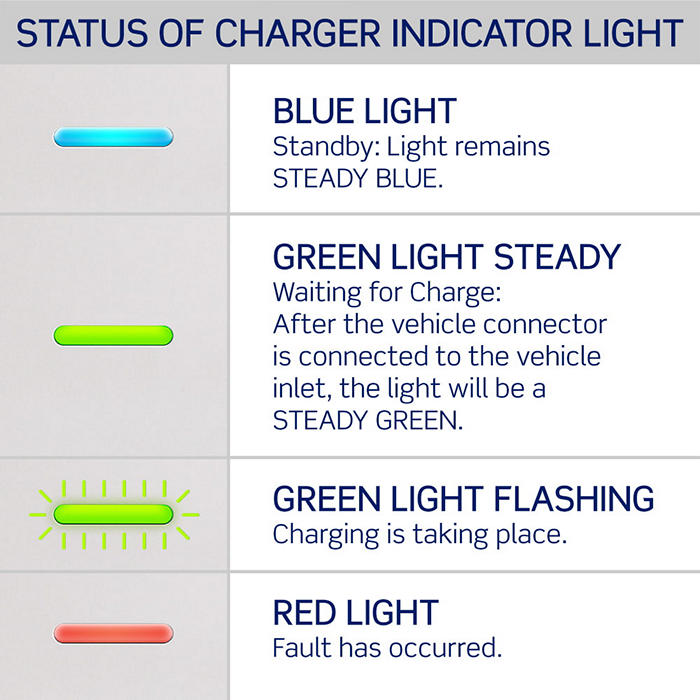
Next, we will discuss the fault light and what it indicates on the EV Series, since it is important to understand if something goes wrong. The fault light on the charger will behave differently depending on the type of fault that is detected. Each fault is represented by a distinct indicator pattern, and additional details can be found in the instruction sheet.


Troubleshooting Tips
Next up we would like to provide you with some steps and tips for troubleshooting.
- Is the car fully charged?
- If the car’s battery is full, the charger will not engage in charge mode.
- Check the car’s maximum state of charge (SOC) settings.
- The car will stop charging at the pre-set SOC.
- Does the car have its on-board timer set?
- If the car’s on-board timer is activated, the charger will not function unless it is plugged in at the time that the timer is set to charge.
- Verify the charging connector is fully inserted in the EV charging inlet and you hear an audible click.
- Inspect the cable and the coupler for any physical damage that may be affecting power supply.
- Does the car FULLY charge from empty to full on the Level 1 charger that came with your vehicle, or another Level 2 charger?
- If yes, then further investigation may be required by a certified electrician.
- Is the charger on a dedicated breaker with no other load on it?
- If not, all additional loads must be removed by NEC and may cause current drops.
- If you have any high-power appliances in the area (e.g., a Washer/ Dryer, Welding Machine, Hot Tub, etc.), shut them down and then evaluate the EV charger. If the charger then works, verify with a certified electrician that charger was installed on a dedicated 40 A circuit (for EV320/EV32W), 50 A circuit (for EV40P), 60 A circuit (for EV480/EV48W), or 100 A circuit (for EV800/EV80W). If not, they may have to take additional action to rectify.
- If you have experienced any power outages recently, the utility may be sending inconsistent power causing the charger to not function. If this is the case, please call and speak with your utility company.
- When charging, if the preconditioning settings are ON or running automatically due to the outside temperature, the charging time will vary.
Troubleshooting tips for certified electricians ONLY:
- Situation
- Charging indicator does not illuminate:
- Verify the AC power input is connected correctly.
- Power cycle charger (turn charger off then on again).
- Verify the charger plug is inserted firmly in the EV charging inlet.
- If the charging indicator does not illuminate after 10 seconds, power cycle the charger and plug in the charger again.
- If the situation persists, contact Technical Services.
- Standby – blue light
- Light stays steady blue in standby mode.
- Charging indicator does not illuminate:

- Waiting for charge – green light
- After the vehicle is connected to the vehicle inlet, the light will be green and constantly lit.
- Charging – green light flashing
- While charging the indicator light flashes green.
- Fault – red light
- If a fault has occurred, the indicator light will be red.
- Unplug the charging connector.
- Power cycle the charger.
- If the situation persists, contact Technical Services.
- Shut the power off to the unit and shut the breaker off for five minutes. The fault light may clear when you re-energize your unit.
- If the fault light does not clear, check the voltage on each leg. Each leg should be producing 120 V. If the voltage does not equal 120 V, the charger will not function.
- Verify the circuit breaker is properly torqued based on the manufacturer’s specifications, as well as making proper contact. Verify the breaker size (EV320/EV32W – 40 A breaker, EV40P – 50 A breaker, EV480/EV48W – 60 A breaker, EV800/EV80W - 100 A breaker), and that it is on a dedicated circuit.
- Power cycle first then check proper grounding of the circuit.
Please Note: Chargers must be installed by a certified electrician to qualify for the manufacturer warranty. The warranty is automatically voided for chargers not installed by a certified electrician.
RFID Charging Access
The final sector of the EV Series is RFID and how to enable RFID charging and access control. An important part of activation for RFID access control is that it is only required when access to charging will be restricted only for RFID card holders. If there is no restriction, then this step is not required.
- Identify your card
- All units come with one administrative (admin) card and two standard cards as marked on the cards.
- Admin cards are used to activate RFID access control and should be kept by the charger owner.
- Standard cards are used to enable charging by users.
- Activate RFID Access Control
- Once enabled, RFID access control cannot be disabled. If you prefer to keep this as an unrestricted unit, do not activate this card.
- To enable RFID access control, hold the admin card to the RFID sensor image on the front of the charger until you hear a beep, RFID access control is now enabled.

The EV Series represents the future of reliable, high-performance electric vehicle charging. Whether you’re considering installation locations, power requirements, or the compatibility of your vehicle, having the right information ensures a seamless experience. From enabling RFID access control to troubleshooting common issues, every step of the process is designed for convenience, security, and efficiency.
For more information on EV Series, visit EV Series – Leviton Electric Vehicle Charging